Tutorial 01: Adding Another Action
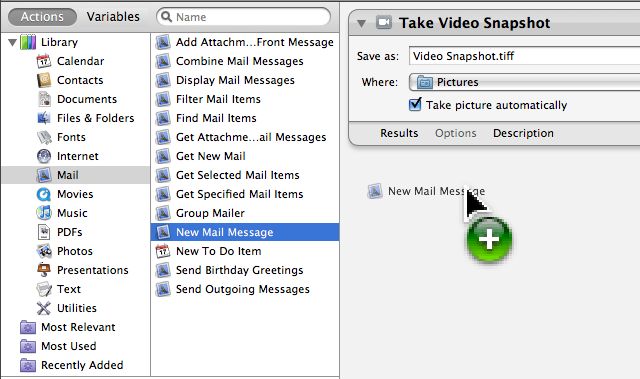
With the action title selected in the list displayed in the second column, adding the action can be done either of two ways:
- Press the Return key; or
- Drag the selected title to the area after the first action, and release the mouse.
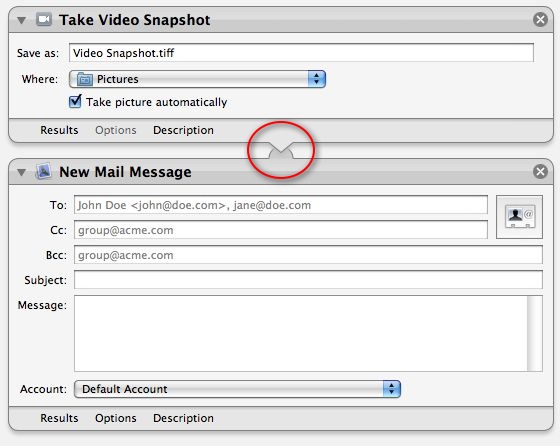
The action view for the second action will be displayed, showing any settable parameters. You may enter any information you want to always appear in a newly created message.
Note that a connection between the two actions is indicated (circled area). This connection means that information or data (in this case an image file) will be passed between the two actions, from the first to the second.
Continue to the next page to find out how to save the workflow.